
How to replace car wiper blades insert is usually a quick fix for streaks, chattering, or that annoying “missed spot” right in your line of sight, and you often don’t need a full blade replacement to get clear wipes again.
A lot of drivers replace the whole assembly because it feels simpler, but many wiper designs let you swap just the rubber insert, which can save money and reduce waste. The catch is fitment and technique, inserts are not one-size-fits-all.
This guide focuses on insert-style refills, the type where you keep the metal or plastic frame and slide new rubber into place. I’ll also call out when you should stop and switch to a full blade set, because forcing the wrong insert is how people crack end caps or bend frames.
Key takeaways: confirm you have an insert-compatible wiper, match the refill profile, clean the frame, slide the insert through the rails, then test on a wet windshield.
What “wiper blade insert” means (and why it matters)
A wiper “insert” (also called a refill) is the rubber wiping element that slides into the blade frame’s rails. On many traditional frame-style blades, that rubber can be replaced without buying a full blade.
Beam-style blades and many newer OEM designs are often sealed units, so the “insert-only” approach may not apply. If you’re unsure, look at the blade: if you see metal rails and removable end caps, it’s commonly refillable.
According to AAA, good visibility is a core safety issue and worn wipers can reduce your ability to see hazards in rain or spray, so treating this as a “small maintenance task” still matters when you drive at speed.
Common reasons inserts fail early (so you don’t repeat the same problem)
Inserts wear out, but some failures happen faster than they should. If your new rubber starts streaking within weeks, it’s rarely “bad luck” alone.
- Dirty windshield: road film and wax residue can smear and make rubber chatter.
- Dry wiping: running wipers on a dry windshield scuffs the edge and hardens rubber.
- Frame corrosion or bent rails: the insert can’t sit flat, so it skips.
- Wrong refill profile: the rubber may be too narrow, too thick, or the spine shape doesn’t match the rails.
- Washer fluid issues: weak spray pattern means the blade drags instead of gliding.
One more practical point: if the blade frame has lost spring tension, even a perfect insert won’t press evenly on the glass. That’s when “insert-only” becomes a frustrating loop.
Quick self-check: do you need an insert, or a whole blade?
Before you buy anything, do a 60-second check. It saves you the return trip and the “why won’t this slide in” moment.
- Your wiper has removable end caps and visible rails inside the frame.
- The frame isn’t twisted, and the pressure feels even when you lift and set it back down.
- No cracks in plastic joints and no missing clips.
- Only the rubber edge looks worn (tears, hardening, rounded edge), not the whole structure.
If the blade is a sealed beam style, if the rubber is bonded, or if you can’t identify how the end cap comes off without prying hard, replacing the full blade is often the safer call.
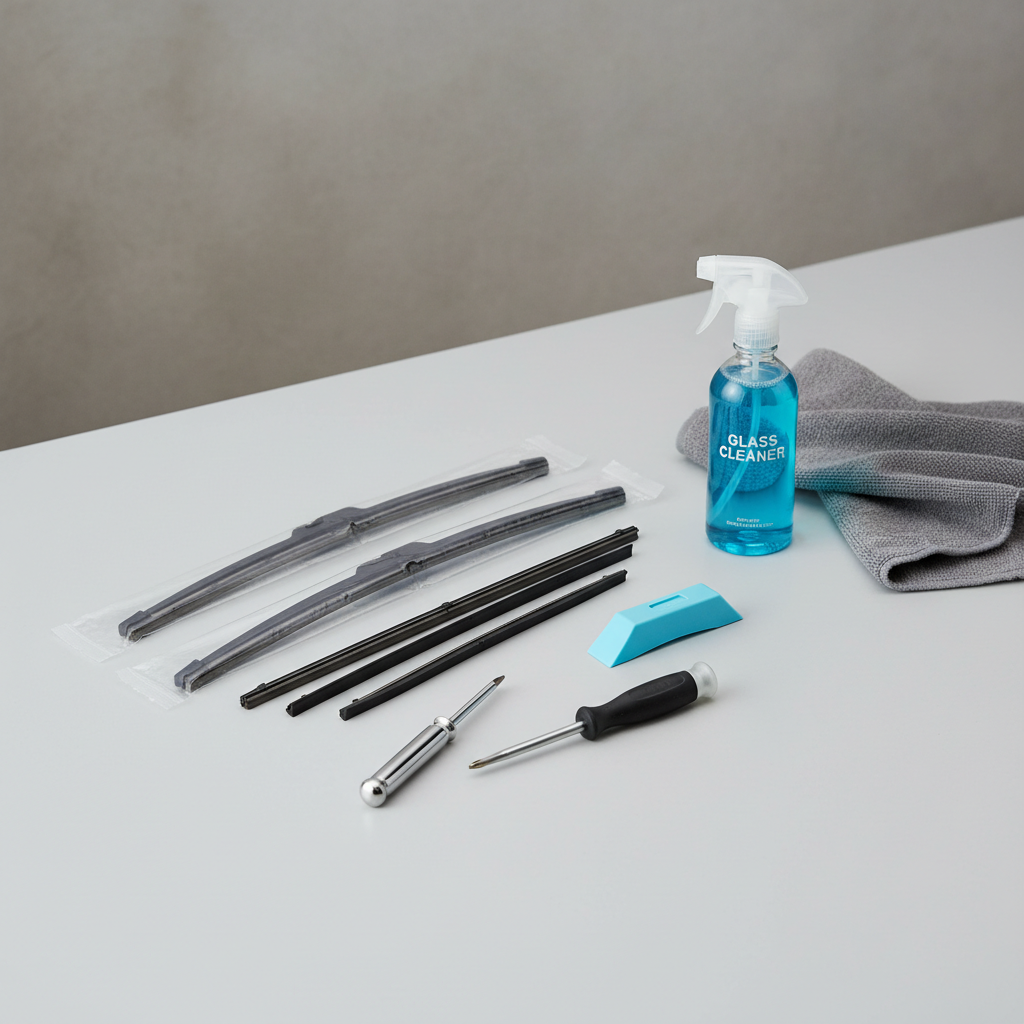
Tools and parts you’ll want on hand
You can do most insert swaps with basic items. The goal is control, not force.
- Correct replacement insert(s) in the right length and profile
- Small flathead screwdriver or plastic trim tool (for end caps, if needed)
- Clean microfiber towel
- Glass cleaner or diluted washer fluid
- Optional: needle-nose pliers (gentle use), scissors for trimming if the refill is “cut-to-fit”
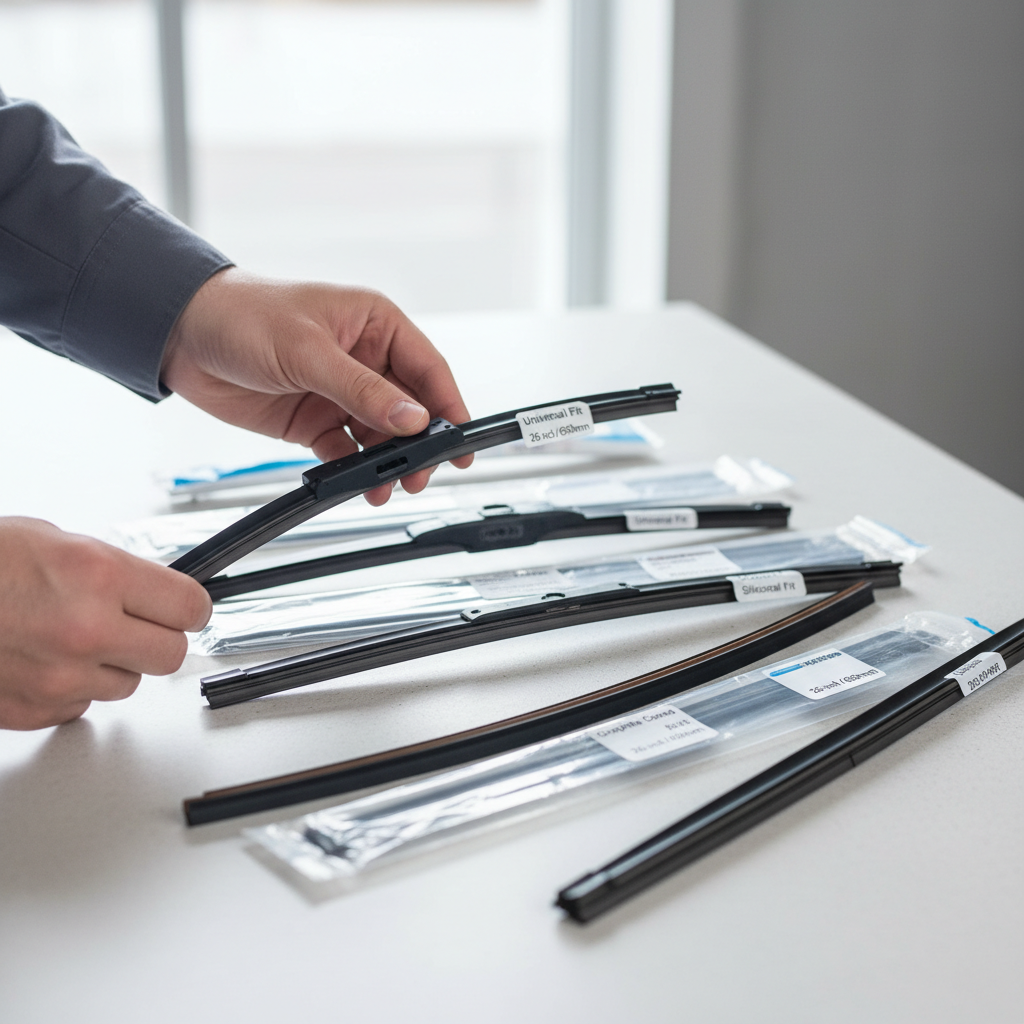
Tip: If you’re buying in-store, bring the old blade or the old insert with you. In many cases, matching the cross-section shape matters as much as length.
How to replace car wiper blades insert (step-by-step)
This is the practical process most insert-style wipers follow. Your exact end cap and rail design may vary a bit, so go slowly and take a quick phone photo before you pull anything apart.
1) Park safely and protect the windshield
Turn the car off, lift the wiper arm away from the glass, and place a folded towel on the windshield under the arm. If the arm snaps back, it can crack glass.
2) Remove the blade from the arm (optional but usually easier)
Some people do the swap while the blade stays attached. Realistically, removing the blade gives you better leverage and reduces the chance of bending the frame. Release the wiper connector (J-hook or similar) and set the blade on a bench.
3) Locate the “locking” end cap or retaining clip
One end of the insert is usually secured by a small tab or end cap. Gently pop it open or slide it off. If it feels stuck, check for a hidden latch instead of prying harder.
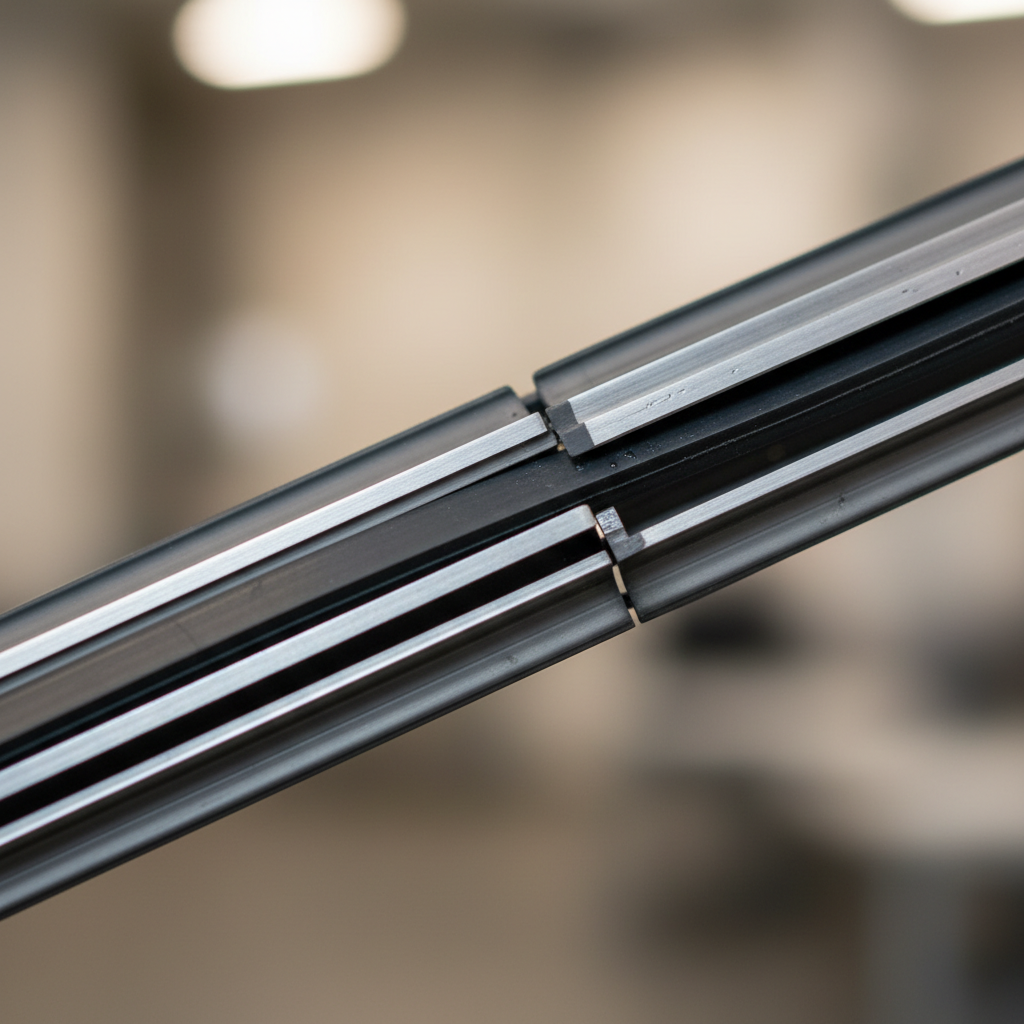
4) Slide the old insert out through the rails
Pull the rubber straight out along the rails. If there are two thin metal strips running alongside the rubber (stiffeners), note how they sit, some refills reuse them.
5) Clean the blade frame rails
Wipe out grit, oxidation, or sticky residue in the rails. This step looks boring, but it’s the difference between a smooth slide-in and a refill that bunches up halfway.
6) Prep the new insert
Match the new insert length to the old one. If it’s cut-to-fit, measure twice and trim once. If your design reuses metal stiffeners, transfer them to the new rubber in the same orientation.
7) Slide the new insert in
Feed the insert through the rails from the correct end, keeping it aligned so it doesn’t twist. If you feel resistance, back up a little and realign, pushing harder usually causes a kink that ruins the wipe edge.
8) Reinstall the end cap and confirm the lock
The end cap or clip should seat fully. Give the insert a light tug, it should not slide back out.
9) Reattach the blade and test properly
Put the blade back on the arm, wet the windshield with washer fluid, then run the wipers. Testing on a dry windshield can create noise and micro-tears on fresh rubber.
Insert types and compatibility: a practical cheat sheet
Most frustrations come from buying the wrong refill style. Length is visible, but the rubber profile and rail system can be the hidden mismatch.
| What you see | What it likely means | What to do |
|---|---|---|
| Traditional metal frame, removable end cap | Often insert-compatible | Match insert length and cross-section, reuse stiffeners if required |
| Sleek beam blade, sealed ends | Commonly full-blade replacement | Buy complete blade assembly instead of refill |
| Insert slides out but has special molded connector at one end | Brand-specific refill | Check OEM/brand part number, generic refills may not lock |
| Refill package says “cut-to-fit” | Universal-length concept, profile still matters | Confirm rail fit before trimming, keep the locking end intact |
If your refill slides in but won’t lock at the end, treat that as a compatibility issue, not an “installation mistake.” In many cases, switching to a full blade is quicker than trying a second refill type.
Mistakes that waste time (and how to avoid them)
- Snapping the wiper arm onto the windshield: always keep a towel under it while you work.
- Ignoring the stiffeners: some designs need the metal strips to keep the rubber stable at speed.
- Installing the insert backwards: certain refills have a locking notch on one side only.
- Testing dry: wet the glass to prevent chatter and premature wear.
- Blaming the rubber when the frame is bent: if wipe pressure is uneven, inserts won’t fix it.
Also, if the windshield has heavy contamination (wax, road film, overspray), even a brand-new insert can smear. Cleaning the glass thoroughly often changes the result more than swapping brands.
When to get help or switch strategies
If you’re stuck, it’s usually one of three things: the blade is not refillable, the refill profile is wrong, or the frame/arm has a mechanical issue.
- Consider a full blade replacement if the frame has rusted joints, cracked plastic, or weak spring tension.
- Ask a parts counter or mechanic if you can’t identify the refill type, many shops can confirm fitment quickly from the blade model.
- Check the wiper arm if one side wipes clean and the other side always streaks, the arm may be slightly bent and might need professional adjustment.
If you notice visibility problems that persist in heavy rain, or you’re uncomfortable handling the wiper arm tension near the glass, getting help is reasonable. This is small work, but broken glass is not.
Conclusion: a clear windshield with less hassle
Once you know your blade takes a refill, how to replace car wiper blades insert becomes a predictable routine: confirm compatibility, keep the rails clean, slide the insert straight, and test on a wet windshield. That’s the difference between “five minutes” and “why is this fighting me.”
If you want one action that pays off immediately, clean the windshield and the blade rails before you judge the new insert. If the frame or arm looks worn, skip the refill experiment and move to full blades for a more reliable result.
FAQ
Can I replace just the rubber insert on any wiper blade?
No. Many modern beam blades are sealed and meant to be replaced as a complete unit. Insert refills are more common on traditional frame-style blades or specific OEM designs with removable end caps.
How do I know which wiper insert profile I need?
Length helps, but the rail fit and rubber cross-section usually matter more. Matching the old insert visually, or using the blade’s model/part number at a parts store, tends to be the least frustrating approach.
My new insert won’t slide through the rails, what’s the usual cause?
Most often it’s grit or corrosion in the rails, a twisted frame, or a refill that’s slightly too thick. Clean the channel first, then re-check compatibility before using force.
Do I need to reuse the metal strips from the old insert?
Sometimes. Some refills come with new stiffeners, while others expect you to transfer the old ones. If the new rubber feels floppy compared to the old assembly, it may need those strips for proper pressure distribution.
Why are my wipers still streaking after replacing the insert?
A dirty windshield, oily film, or worn frame tension can keep streaks around even with fresh rubber. Try cleaning the glass thoroughly and check whether the blade sits evenly across the windshield.
Is it okay to trim a universal “cut-to-fit” insert?
Usually, yes, if the refill is designed for trimming and you keep the locking end intact. Measure against the old insert and trim conservatively, because cutting too short can prevent the end cap from securing the rubber.
How often should I replace wiper inserts?
It depends on climate, parking conditions, and how often you use washer fluid. If you notice consistent streaking, chatter, or torn edges, it’s reasonable to replace sooner rather than waiting for a perfect schedule.
If you’re trying to reduce cost without giving up visibility, insert refills can be a nice middle ground, and if you’d rather avoid compatibility guesswork, bringing the old blade into the store or choosing complete blades can be the more “set it and forget it” option.