
how to replace tire valve stem on car is usually a straightforward fix, but only if you diagnose the leak correctly and choose the right method for your wheel and situation.
If you’re topping off air every few days, hearing a faint hiss near the valve, or seeing bubbles when you spray soapy water around the stem, a worn valve stem is a common culprit. The annoying part is many slow leaks feel the same at first, and it’s easy to waste time chasing the wrong thing.
This guide walks through what typically fails, how to confirm the valve stem is the real problem, and two practical replacement paths: a quick core swap you can do with the tire on, and a full stem replacement that usually requires breaking the bead. I’ll also flag the “don’t risk it” moments, because messing up a seal at highway speeds is not where anyone wants to learn.
What a “valve stem” problem really is
The “valve stem” area has a few parts that can leak, and the fix depends on which one failed.
- Valve core: the tiny spring-loaded piece inside the stem. It can loosen, get debris, or its seal can wear.
- Valve stem body: rubber (snap-in) or metal (clamp-in). Rubber can crack and dry out; metal uses seals and a nut that can leak if damaged or under/over-torqued.
- Valve cap: not the primary seal, but it helps keep grit and moisture off the core. Missing caps correlate with gritty cores and slow leaks.
According to NHTSA, tire-related issues can contribute to crashes, so if you’re unsure about any step that affects sealing or wheel integrity, it’s reasonable to use a tire shop for the final work.
Common causes of valve stem leaks (real-world patterns)
Most valve stem failures come down to age, heat, and small mistakes that stack up over time.
- Rubber aging and cracking: especially in hot climates, lots of sun exposure, or long highway commutes where tires run warm.
- Corrosion on metal stems: road salt and moisture can pit the sealing surfaces or seize the valve core.
- Core slightly loose: happens after air checks where the tool backs the core out a hair.
- Damage from tire service: the stem gets nicked during mounting, or the TPMS service kit isn’t replaced when it should be.
- Wrong cap: metal caps without an inner liner can stick to metal stems and sometimes encourage corrosion.
One more thing people overlook: a leak “at the valve” can also be a leak near the valve, like a bead leak or a cracked wheel. That’s why a quick test matters before you buy parts.
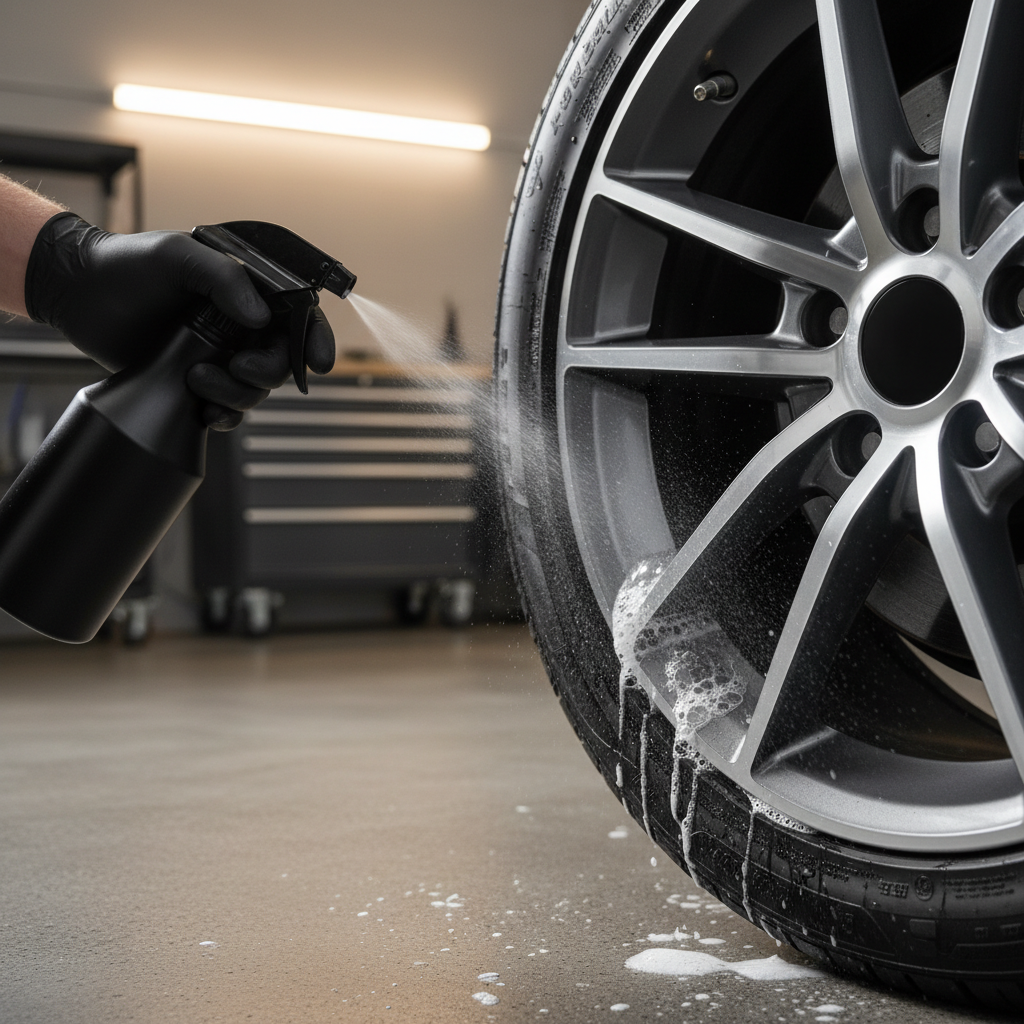
Quick self-check: confirm the valve stem is the leak
Before you decide how to replace tire valve stem on car, spend five minutes confirming where air escapes. It saves money and prevents repeating the job.
Tools for the check
- Spray bottle with soapy water (dish soap + water)
- Tire pressure gauge
- Flashlight
What to do
- Inflate the tire to the door-jamb placard pressure (cold tire).
- Spray soapy water on the valve core opening (remove the cap) and watch for steady bubbling.
- Spray around the base of the stem where it meets the wheel.
- Spray the bead area near the valve (where tire meets wheel) to rule out bead leaks.
How to read the results
- Bubbles from the center opening usually means the core is leaking or loose.
- Bubbles at the stem base often means the stem body seal is failing (rubber crack, torn grommet, loose clamp nut).
- Bubbles at the bead suggests you may not need a stem at all, you may need bead cleaning/reseating.
Choose the right repair path (core vs full stem)
Here’s the practical decision: if the leak comes from the valve core, you can fix it with the tire still mounted. If the leak comes from the stem base, you’re usually into a full replacement that requires deflating and unseating the bead.
| Issue found | Typical fix | Tools needed | Risk level |
|---|---|---|---|
| Bubbles at center (core) | Replace valve core + cap | Valve core tool, gauge | Low |
| Bubbles at base (rubber snap-in) | Replace rubber valve stem | Bead break access, puller/installer | Medium |
| Metal clamp-in seep at base/nut | New seals or replace stem | Bead break, torque wrench | Medium-high |
| TPMS sensor stem leak | TPMS service kit (seal, core, cap) | Bead break, TPMS tools | High (easy to damage sensor) |
Key point: If your car has TPMS, the “valve stem” might be part of the sensor assembly. Many TPMS designs use a service kit (grommet, washer, nut, core) rather than a generic rubber stem.
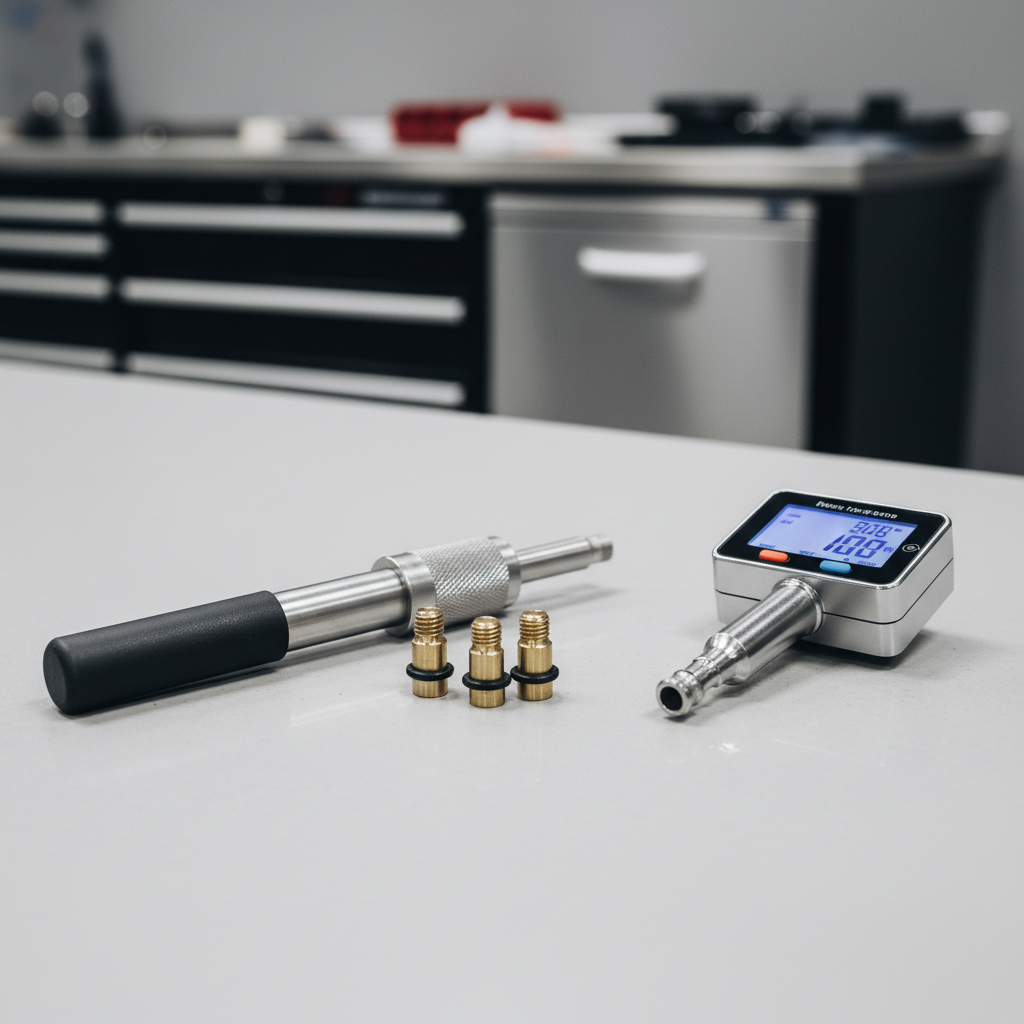
Step-by-step: replace a leaking valve core (no bead break)
This is the quickest version of how to replace tire valve stem on car, and for many slow leaks it’s the only step you need.
What you’ll need
- New valve core (buy a few, they’re inexpensive)
- Valve core tool
- Air source (compressor or pump)
- Soapy water spray
- New valve cap (preferably with a rubber liner)
Steps
- Remove the valve cap and check the core is not visibly crooked or corroded.
- Use the valve core tool to snug the core gently (do not crank). Recheck with soapy water. If it still bubbles, replace it.
- Deflate the tire by slowly backing the core out with the tool, then remove the core.
- Install the new core by threading it in carefully to avoid cross-threading.
- Snug the core with light pressure, then inflate to spec.
- Spray soapy water again to confirm no bubbling, then install the cap.
Small but important: cross-threading a core can turn a simple job into a full stem replacement, so if it doesn’t thread smoothly, stop and realign.
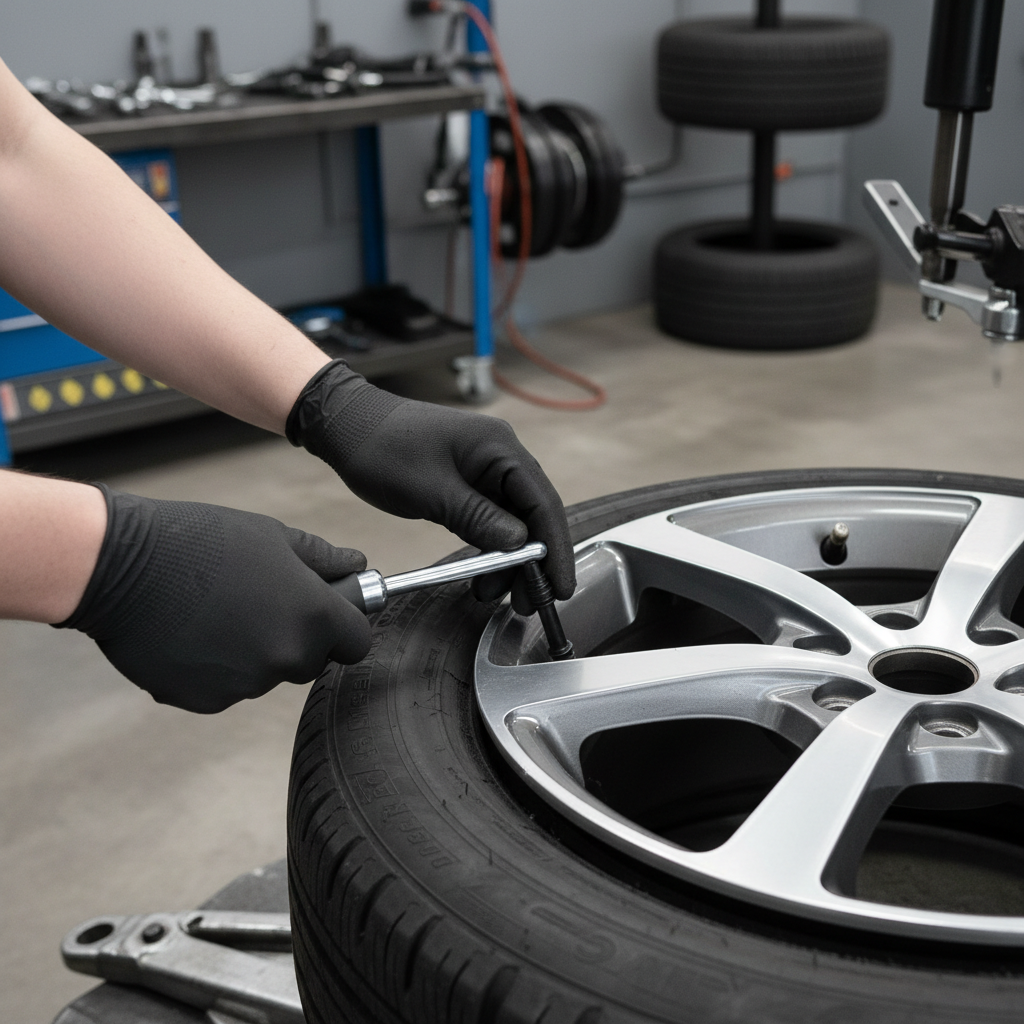
Step-by-step: replace a rubber snap-in valve stem (full replacement)
If bubbles form at the base and the stem is rubber, replacement is typically the right move. This job often goes smoothly in a shop because they can break the bead without fighting it.
Tools and parts
- Correct size rubber snap-in valve stem (common sizes exist, but verify)
- Bead-breaking capability (tire machine, bead breaker, or shop service)
- Valve stem puller/installer
- Lubricant designed for tire work (many shops use bead lube)
- Jack, jack stands, lug wrench, torque wrench
High-level steps (what happens in most shops)
- Lift vehicle safely, remove wheel, and fully deflate the tire.
- Break the bead near the valve area and push the tire down enough to access the stem inside.
- Cut or pull the old stem out.
- Lubricate the new stem and pull it through the valve hole until it “snaps” into place and seats evenly.
- Reseat the bead, inflate to seat (this can require a fast blast of air), then set final pressure.
- Leak-check with soapy water at the core and at the stem base.
Safety note: Bead seating can be hazardous if you’re improvising tools or inflating beyond normal ranges. Many DIYers choose to do the diagnosis and core swap at home, then let a tire shop handle bead work.
Special case: TPMS valve stems and service kits
On many newer cars, what looks like a regular valve stem is tied to the TPMS sensor. That changes the risk, because the sensor can crack or the seal can get pinched.
- Metal clamp-in TPMS stems usually use a grommet, washer, and nut. A small sealing part can cause a slow leak, and the fix is often a TPMS rebuild/service kit rather than a whole sensor.
- Snap-in TPMS stems exist too, and still require bead access to replace.
According to Tire Industry Association (TIA), proper tire service practices include using the correct parts and procedures for the wheel and TPMS components. If you’re not sure which TPMS parts your sensor uses, it’s smart to confirm by VIN, sensor model, or a shop lookup before disassembly.
Mistakes that waste time (and how to avoid them)
Most valve-stem jobs go sideways for predictable reasons, so it’s worth calling them out.
- Replacing the stem when the bead leaks: always spray the bead area, especially on older wheels or wheels exposed to road salt.
- Overtightening the valve core: “tight” is not “better,” it can deform the seal.
- Using the wrong stem type: rubber snap-in vs metal clamp-in matters, and TPMS adds another layer.
- Skipping the cap: it’s cheap protection against dirt that can keep a new core from sealing.
- Ignoring wheel condition: pitting or cracks around the valve hole can prevent sealing no matter what you replace.
If you’re doing how to replace tire valve stem on car for a recurring leak, consider checking the inside of the valve hole area for corrosion; sometimes the “problem” is the wheel surface, not the rubber.
When to stop DIY and use a tire shop
A tire shop is often the safer call when the work requires bead breaking, TPMS handling, or when the wheel itself might be compromised.
- You see bubbling at the stem base on a TPMS-equipped wheel and you’re unsure what parts you need.
- The wheel has visible corrosion, cracking, or deformation near the valve hole.
- You can’t reseat the bead reliably with proper equipment.
- The tire has damage (sidewall bulge, puncture near shoulder) and you’re already losing air.
According to AAA, maintaining correct tire pressure supports safe handling and tire longevity, so if you’re losing air and can’t identify the cause quickly, getting a professional inspection is a reasonable next step.
Conclusion: a clean leak test first, then the simplest fix
Most people searching how to replace tire valve stem on car really need one of two fixes: a valve core swap for a center leak, or a full stem replacement for a base leak, and the difference shows up fast with soapy water. Do the test, pick the least invasive repair, then confirm with another leak check before you call it done.
If you want one action item today, replace missing valve caps and do a quick spray test, that alone often reveals whether you’re dealing with a core, a stem seal, or something bigger.