
The best car rear bumper protector for parking scratches is the one that matches how you park, what your bumper is made of, and how “invisible” you want the protection to look.
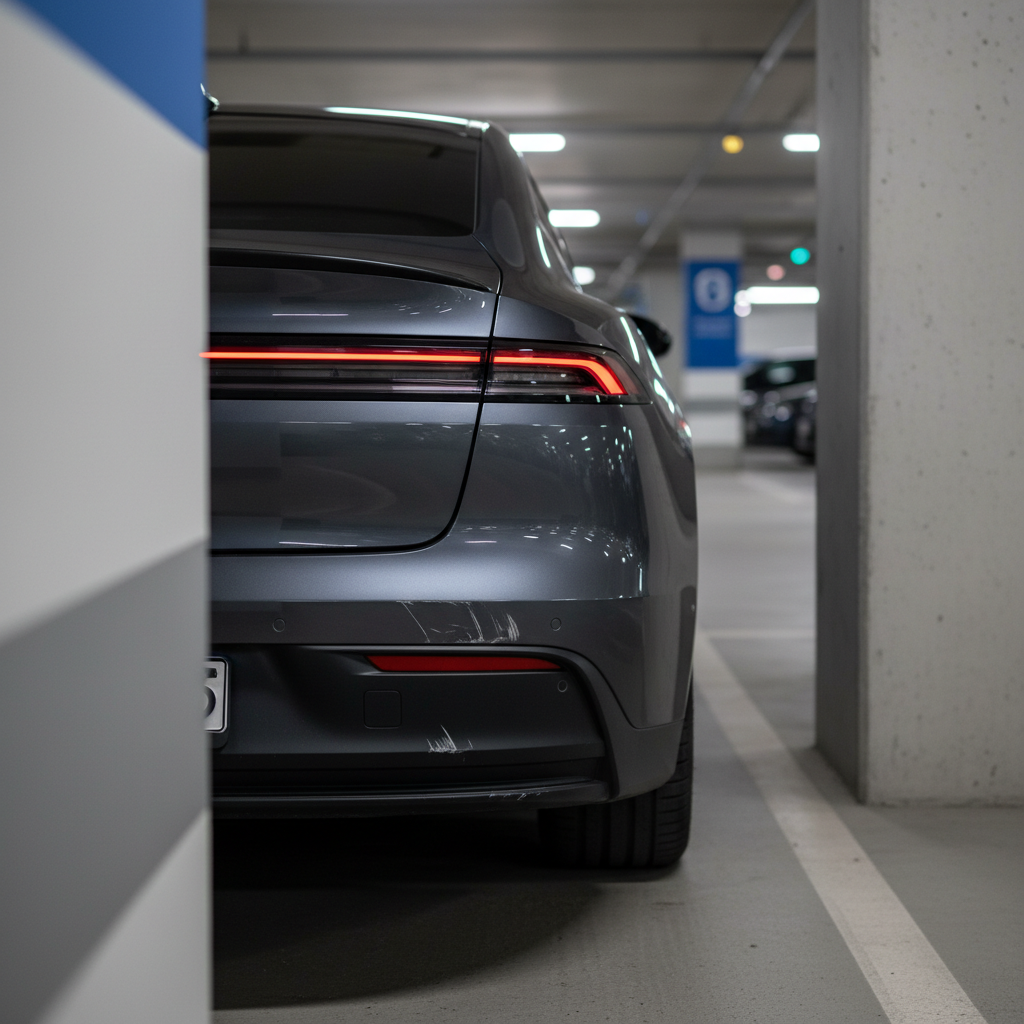
If you parallel park a lot, load strollers or groceries daily, or deal with tight garage spaces, the rear bumper takes small hits that add up fast, usually as paint scuffs, plastic abrasion, or a chipped edge at the bumper lip.
This guide narrows it down without overcomplicating it: what actually causes parking scratches, how to tell what you need in two minutes, and which protector type tends to work best for each scenario.
Why parking scratches happen (and why the rear bumper gets it first)
Most “parking scratches” are not one big impact, they’re repeated low-speed contacts: you brush a wall, another car’s plate frame taps you, a cart grazes the corner, or you drag a box across the bumper while loading.
- Bumper corners catch the most contact during parallel parking and tight turns.
- Bumper top edge takes abuse from cargo sliding in and out.
- Textured plastic trim shows whitening and scuffs more than painted areas.
- Low bumpers on some sedans can scrape on steep driveways or parking stops.
According to NHTSA, many parking-lot incidents happen at low speed, which is exactly the kind of contact that creates scuffs and paint transfer rather than major structural damage.
Quick self-check: what kind of protection do you actually need?
Before shopping, decide what you’re protecting against. A protector that’s great for loading scratches may do almost nothing for corner taps.
Use this 90-second checklist
- Your main problem is corner rubs from parallel parking or tight garages.
- Your main problem is top-lip scuffs from loading trunks, coolers, strollers, toolboxes.
- You want low-visibility protection that blends in, not a bulky add-on.
- You live in heat/cold extremes where cheap adhesives may lift.
- Your bumper shape is complex with curves, sensors, or textured panels.
If you checked mostly “corner rubs,” prioritize wraparound or corner-focused protection. If you checked “top-lip scuffs,” a bumper guard strip often solves 80% of the annoyance.
Protector types compared: which one fits your parking life?
There isn’t one universal winner. The best car rear bumper protector for parking scratches changes with your risk pattern and your tolerance for visible accessories.
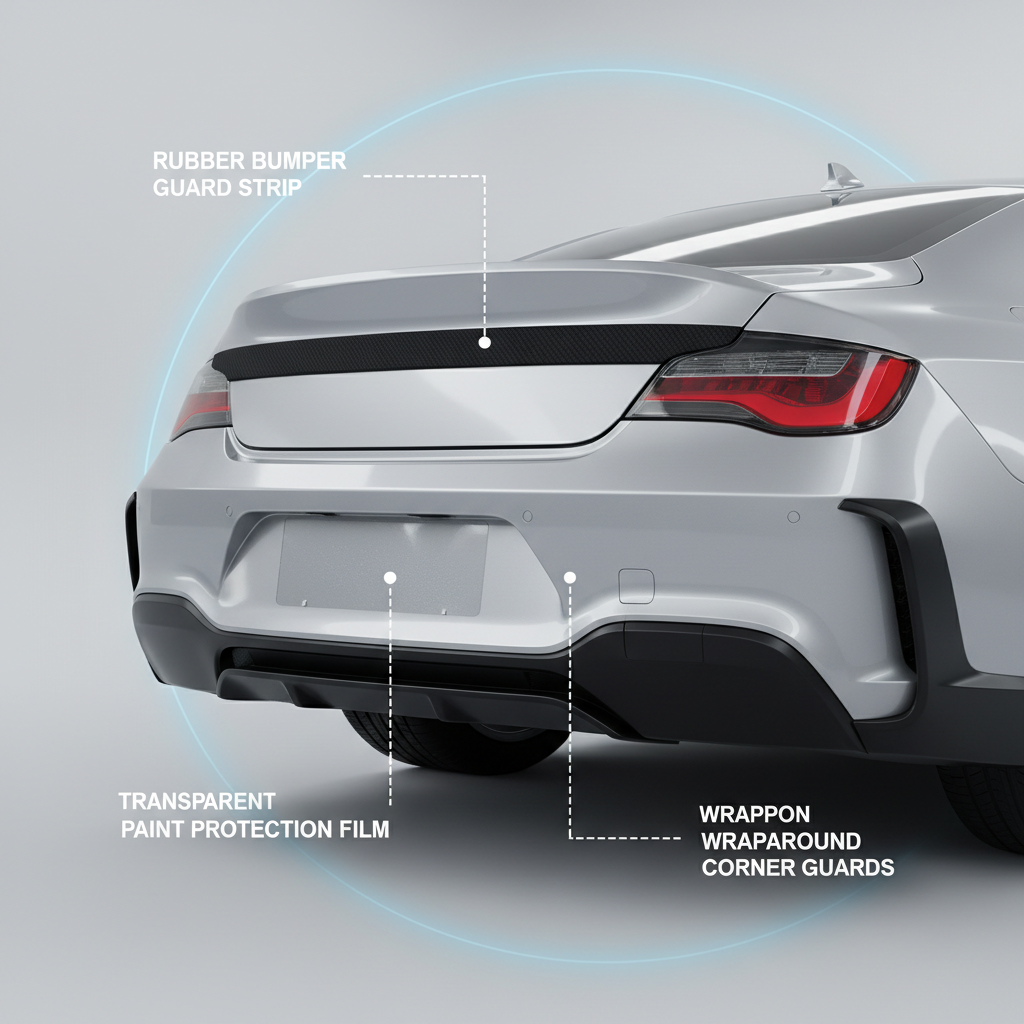
| Type | Best for | Pros | Watch-outs |
|---|---|---|---|
| Bumper guard strip (rubber/PU) | Loading scuffs on bumper top edge | Simple install, affordable, good daily protection | Adhesive quality matters, can peel if surface prep is weak |
| Paint protection film (PPF) | Light scuffs, paint transfer, “invisible” look | Low profile, maintains factory appearance | Less impact absorption, install skill affects results |
| Wraparound corner guards | Corner taps in tight parking | Targets the highest-risk zone, better cushioning | Can look aftermarket, fit varies by bumper curvature |
| Hitch step / hitch-mounted guard (if you have a hitch) | Preventing direct bumper contact | Takes hits instead of bumper, removable | Can be a shin hazard, may affect parking sensors on some cars |
| License-plate frame bumper guard | Minor nudges at the center | Cheap, easy | Limited coverage, won’t protect corners or top lip |
How to choose the best option (simple decision rules)
If you want a quick “editor’s logic,” here it is: choose based on contact point and how much cushioning you need.
- Mostly loading scratches: pick a bumper guard strip with strong automotive-grade tape, sized to your bumper width.
- Mostly light paint scuffs and you hate visible add-ons: go with PPF on the bumper top and corners.
- Mostly corner impacts: choose wraparound corner guards or a corner-protecting kit, especially if your garage is narrow.
- You already have a hitch and get tapped often: a hitch step/guard can reduce bumper contact in real-world parking.
Material matters more than people think. Rubber and TPU/PU can absorb abrasion better than brittle plastics, while PPF is great at preventing surface scuffs but won’t “pad” the bumper.
Installation that actually holds up (DIY steps that prevent peeling)
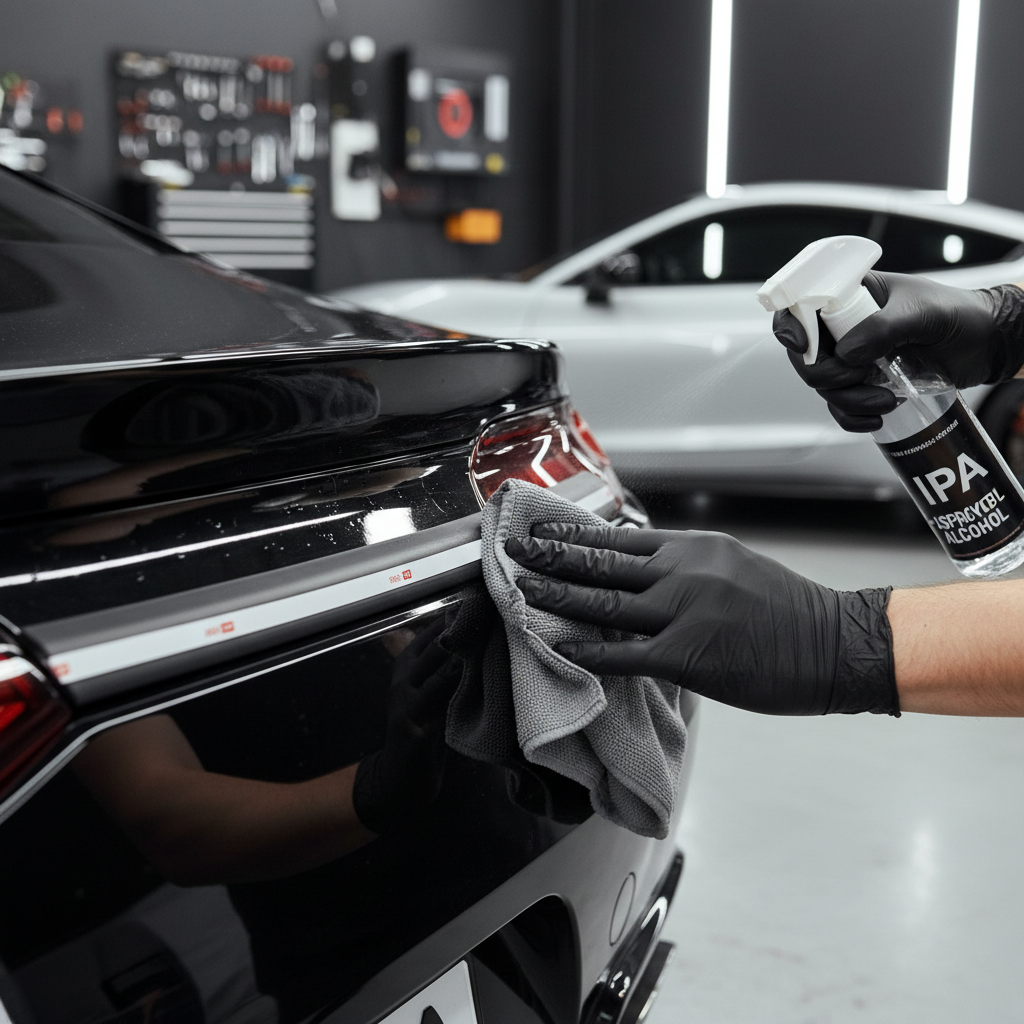
Most complaints about bumper protectors come down to prep. Even a solid product fails if the surface has wax, road film, or moisture.
DIY install steps for adhesive strips and corner guards
- Wash the bumper, then dry fully, especially around seams.
- Degrease with isopropyl alcohol on a clean microfiber cloth, avoid leaving lint.
- Test fit before peeling tape, confirm alignment around curves and sensors.
- Warm the surface if it’s cold (many adhesives bond better above roughly room temp), don’t overheat paint.
- Apply pressure evenly for a few minutes, then avoid washing for 24–48 hours if possible.
If you’re applying PPF, small kits can be doable at home, but complex bumpers often look better with a pro install, mainly because stretching and trimming errors show up later as lifted edges.
Common mistakes that waste money (and how to avoid them)
Some choices look good on a product page but disappoint on week two.
- Buying by “universal fit” only: bumpers vary a lot in curvature, measure the usable flat area before ordering.
- Ignoring texture vs paint: tape sticks differently to textured plastic, you may need a product designed for that surface.
- Protecting the wrong zone: if your scratches are on corners, a top strip won’t solve the real problem.
- Overfocusing on thickness: thicker isn’t always better if it lifts or traps dirt at the edge.
- Blocking sensors: some vehicles have rear parking sensors embedded in the bumper, keep protectors clear of sensor circles.
One more thing people don’t love hearing: a protector won’t fix existing deep gouges. It can hide minor scuffs, but if you can catch a fingernail in the scratch, you’re usually looking at touch-up paint, refinishing, or a cover-up strategy.
Practical recommendations by scenario (what tends to work best)
Here are realistic matches that usually satisfy people after the novelty wears off.
- Urban parallel parking: corner guards plus a small PPF patch on the corner’s leading edge, because that’s where paint transfer shows first.
- Families and frequent trunk loading: a wide bumper guard strip that covers the entire loading lip, consider textured finish for grip.
- Leased vehicles: low-profile PPF or removable guards, since you may want easy removal later without residue risk.
- Pickup/SUV with high cargo use: heavier-duty strip or step-pad style protection, as long as it doesn’t interfere with hatch clearance.
- Cars with rear sensors: choose slim designs and place carefully, if uncertain, ask a detailer or installer to confirm safe placement.
If you’re shopping for the best car rear bumper protector for parking scratches and you’re stuck between two types, pick the one that covers the damage zone you already see on your bumper today, not the zone you “might” hit someday.
Wrap-up: a small upgrade that saves daily annoyance
Rear bumper scratches are usually a habit-and-environment problem, so the right protector is less about hype and more about matching your use case. Cover the contact point, prep the surface properly, and you’ll avoid most of the scuffs that make a car look older than it is.
Key takeaways: if you load cargo often, start with a bumper guard strip, if you want subtle protection, lean PPF, if you keep getting tapped on corners, go corner-focused and don’t pretend a center-only guard will help.
If you want a simple next step, take two photos of your rear bumper from straight on and at a corner angle, then choose protection that covers those exact scuff zones, it’s a quick way to buy once instead of “trial-and-error” shopping.
FAQ
What is the best car rear bumper protector for parking scratches if I want it to look factory?
PPF usually looks closest to factory because it’s clear and low-profile. It’s best for preventing scuffs and paint transfer, but it won’t cushion bigger taps the way rubber guards can.
Will a rubber bumper guard strip damage paint when removed?
Many remove cleanly if the adhesive is automotive-grade and you remove it carefully with heat. Still, paint condition, prior repairs, and how long it stayed on can change outcomes, so test slowly and consider a detailer if you’re unsure.
Do bumper protectors work on textured plastic bumpers?
Some do, some lift at the edges. Textured plastic can reduce adhesive contact area, so look for products specifically rated for textured trim or consider mechanical-fit options like hitch guards if applicable.
Is PPF enough to stop scratches from loading strollers and boxes?
For light scuffs, often yes. For repeated abrasion from heavy items, a thicker guard strip tends to hold up better because it takes the rubbing instead of the clear film.
Can a hitch step interfere with parking sensors or safety systems?
It can on certain vehicles, especially if sensors are sensitive or positioned near the hitch area. If you notice false alerts after installing, remove it and consult your vehicle manual or a shop.
How do I know if my scratch is only paint transfer?
If the mark looks like another color on top of your paint and feels smooth, it’s often transfer and may come off with proper detailing. If you feel a groove, you’re more likely dealing with a cut into the paint or plastic.
What size bumper protector should I buy?
Measure the flat usable top edge of your bumper and buy slightly longer than needed, you can trim many rubber/PU strips. For curved bumpers, shorter sections sometimes conform better than one long piece.
If you’re trying to pick a protector without guessing, a quick approach is to match your bumper’s problem area to the protection type, then choose a kit with solid adhesive and clear placement guidance, it’s the difference between “set it and forget it” and re-sticking corners every month.