
The best car bike rack rear mount is the one that fits your vehicle and bike shapes without constant re-tightening, swaying, or paint-rub anxiety.
If you’ve ever shown up to the trailhead with a strap flapping, a bike leaning into your hatch, or a rack that “fits most cars” but not yours, you already know why rear-mount choices matter. Rear racks are convenient and usually more affordable than roof setups, but they also vary wildly in stability, clearance, and day-to-day annoyance.
This guide breaks down what “rear mount” really means, when each style works best, what to watch for with spoilers and backup cameras, plus a practical checklist so you can buy once instead of returning two racks and settling for the third.
Rear-mount bike rack types (and what they’re actually good at)
Rear-mount racks usually fall into three buckets. They all live on the back of the car, but they behave very differently on the road.
- Trunk or hatch strap racks: The classic strap-and-hook style. Light, affordable, quick to store, but can feel less “locked-in” and may contact paint.
- Spare-tire mount racks: Bolt onto an external spare (common on some SUVs). Usually stable, decent clearance, but compatibility is narrow.
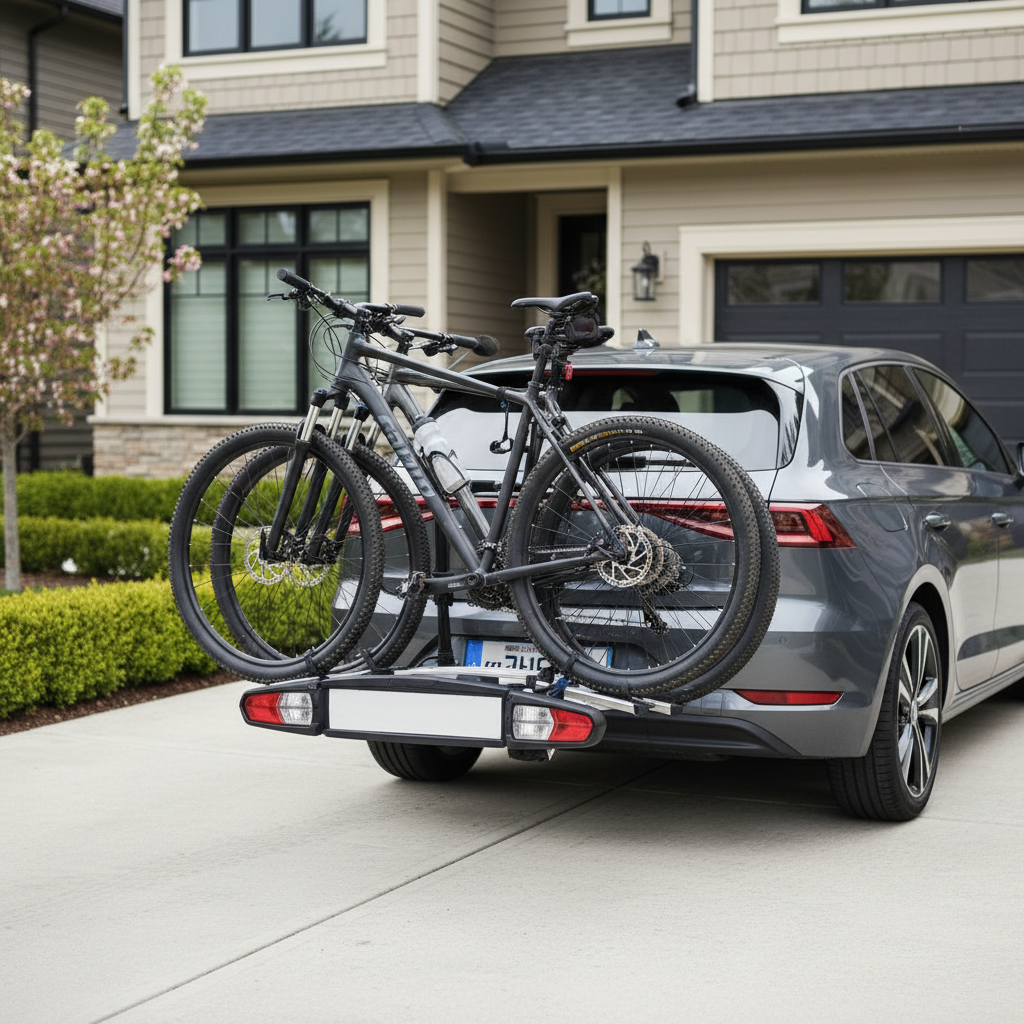
- Hitch-mounted racks (rear hitch): Technically rear-mounted, just not trunk-mounted. Most stable and easiest to load, but costs more and needs a hitch receiver.
If your priority is simplicity for occasional rides, strap racks can be fine. If you ride often, carry heavier bikes, or drive longer highway stretches, hitch racks tend to feel less fussy and more confidence-inspiring.
Quick comparison table: picking the right rear mount for your needs
Instead of chasing a single “best,” match the rack style to how you actually drive, park, and load.
| Rack style | Best for | Tradeoffs | What to check before buying |
|---|---|---|---|
| Trunk/hatch strap | Occasional riders, renters, small budgets | Paint contact, strap stretch, limited access to trunk | Vehicle fit list, spoiler clearance, strap routing points |
| Spare-tire mount | Vehicles with rear spare, moderate use | Limited vehicle compatibility, can block plate | Spare size/offset, mount pattern, plate relocation needs |
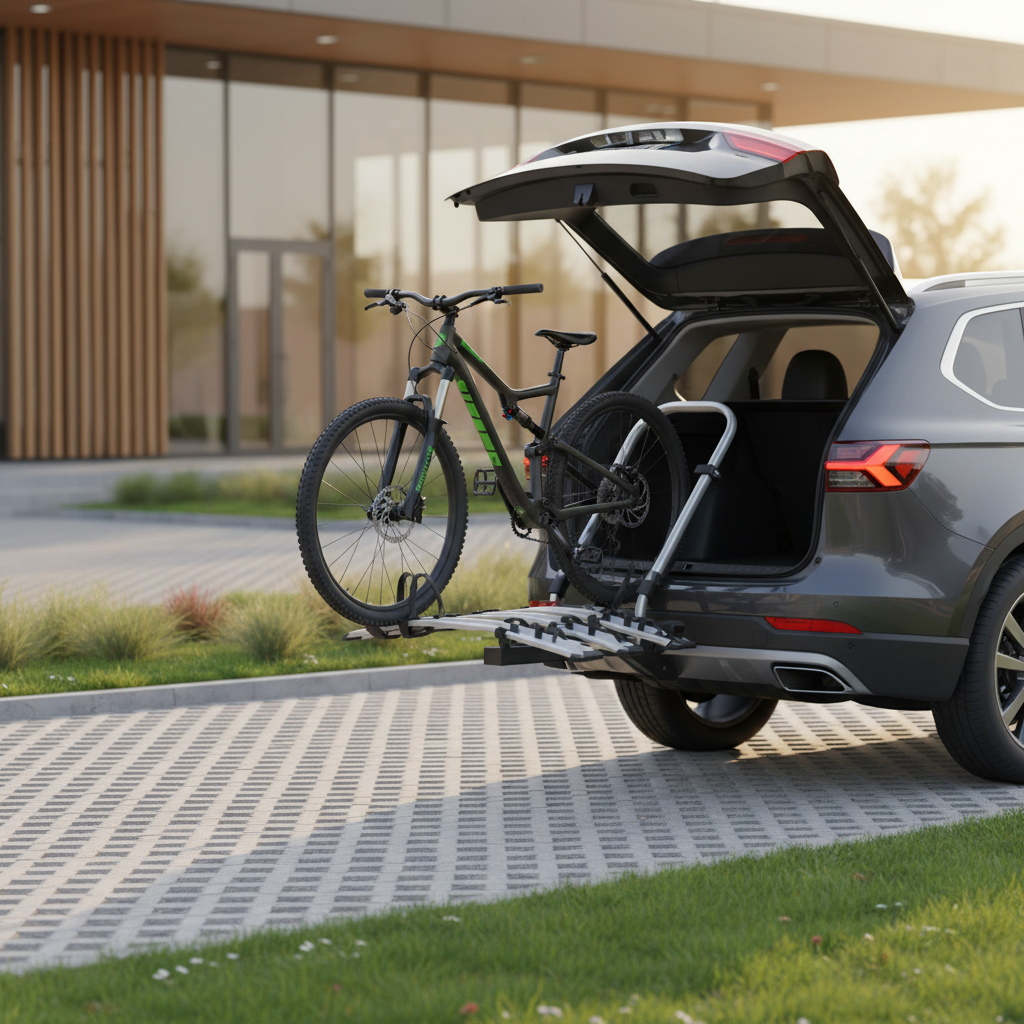
| Hitch-mounted (platform) | Frequent riders, heavier bikes, families | Higher cost, needs hitch, storage space | Hitch class (1.25 vs 2 inch), tongue weight, tilt access |
| Hitch-mounted (hanging) | Multiple bikes, lighter frames | Frame contact, more bike sway than platforms | Top-tube fit, adapter bar for step-through frames |
What makes the “best” rear mount rack: 7 real-world criteria
Specs on product pages are helpful, but the day-to-day experience comes down to a handful of details that don’t always show up in marketing photos.
- Vehicle-specific fit: A strap rack that “fits sedans” can still hate your particular trunk seams, plastic trim, or hatch angle.
- Contact points and paint protection: Rubber feet and padding help, but grit trapped under pads can still scuff over time, especially if you leave it installed.
- Bike compatibility: Step-through frames, full-suspension bikes, and kids’ bikes can be awkward on hanging styles without adapters.
- Stability at speed: Good rear racks limit side-to-side wagging. Extra tie-downs and anti-sway cradles matter more than people think.
- Access to the hatch/trunk: Some racks block opening completely. Hitch racks often tilt; strap racks usually do not.
- Security options: Many rear racks include basic locks, but trunk-strap racks are often easiest to defeat. Plan realistically if you park in public.
- Weight ratings and e-bike reality: Plenty of “bike racks” are not built for e-bike weights. If you’re near the limit, a platform hitch rack is usually the calmer choice.

According to NHTSA, drivers should keep loads secured and avoid blocking required visibility and lighting; for rear racks, that translates into double-checking strap tension, keeping bikes from shifting, and addressing blocked plates or lights where required by your state.
A fast self-check: which rear rack category fits you?
If you want a quick answer without overthinking it, use this as a sorting hat. It’s not perfect, but it’s honest.
Choose a trunk/hatch strap rack if…
- You carry 1–2 lighter bikes a few times a month
- You don’t want to install a hitch or can’t (lease, budget, apartment parking)
- You’re okay doing a 2-minute strap check before every drive
Choose a hitch platform rack if…
- You ride weekly, drive highway miles, or hate wobble
- You carry heavier bikes (including many e-bikes) and want easy loading
- You care about minimizing frame contact and paint rub
Choose a spare-tire rack if…
- Your SUV has an exposed rear spare and you want a stable, semi-permanent setup
- You’ve confirmed the rack fits your spare size and offset
Practical setup steps (strap racks vs hitch racks)
Even the best car bike rack rear mount can feel sketchy if it’s installed “close enough.” These steps reduce most common problems.
Trunk/hatch strap rack: a clean, repeatable install
- Clean contact areas first: Wipe paint and rack pads, because trapped grit causes most scuffs.
- Match hooks to the right edges: Don’t improvise attachment points on plastic trim that flexes.
- Tighten evenly: Alternate straps so the rack sits centered and doesn’t creep sideways.
- Stabilize bikes: Add a secondary strap to reduce handlebar swing and wheel yaw.
- Do a short test loop: Drive 5–10 minutes, re-tension straps, then start your real trip.
Hitch rack: stability and clearance checks
- Confirm hitch size: 1.25-inch and 2-inch receivers are not interchangeable without the right shank.
- Eliminate play: Use the rack’s anti-rattle mechanism, and re-check after the first drive.
- Mind exhaust and departure angle: Low racks can scrape on steep driveways, especially on smaller cars.
- Set wheel trays correctly: On platform racks, wheelbase settings prevent tire rub and loose fit.
If your vehicle has a rear spoiler, hands-free liftgate sensor, or delicate trim, read the rack maker’s fit notes closely. “Works on most hatchbacks” sometimes means “works, but you’ll hate it.”
Common mistakes that make rear racks feel “bad” (even when they’re fine)
A lot of negative experiences come from the same few missteps. Fixing them often costs nothing.
- Overloading a strap rack: Two bikes might be within the bike count, but not within a comfortable weight range for your trunk panel.
- Letting straps twist: Twisted webbing settles during the drive, then everything loosens.
- Ignoring frame shapes: Step-through bikes on hanging racks can rotate and knock into other bikes.
- Blocking lights and plates: This is both a safety and legal risk, and it’s easy to overlook at noon in a parking lot.
- Leaving a trunk rack mounted for weeks: Weather, dirt, and constant vibration increase wear on paint and straps.
One more thing people rarely plan for: rear racks change your “car habits.” Backup sensors may beep constantly, cameras can be partially blocked, and you might forget the extra length when parking. A bright reminder tag on the steering wheel sounds silly, but it prevents a surprising number of low-speed bumps.
Buying tips: features worth paying for (and what to skip)
If you’re comparing listings and everything looks the same, focus on the parts that affect ownership after the first weekend.
- Worth it: Anti-sway cradles on hanging racks, integrated anti-rattle hitch mechanisms, easy tilt/release handles, replaceable straps and buckles.
- Usually worth it: Platform trays with frame-free clamping for carbon or delicate finishes, especially if you drive rough roads.
- Often skippable: “Bonus cable lock included” if it’s thin and short; a separate quality lock often works better.
- Situational: Folding features are great if you store in a tight garage, less important if you can hang the rack on a wall.
For many households, the real upgrade is moving from a trunk strap rack to a hitch platform rack once riding becomes routine. It’s not about being fancy, it’s about not dreading the loading process.
When to get help (or rethink the plan)
If anything about your setup feels “barely okay,” it’s smart to pause. Bikes are expensive, and unsecured loads can create hazards.
- If your trunk/hatch material flexes a lot under strap tension, consider a different rack style or ask a local shop for fit advice.
- If you’re carrying e-bikes, verify rack ratings and your vehicle’s hitch tongue weight rating; if you’re unsure, consult a qualified installer.
- If your rack blocks brake lights or your license plate, check state requirements and consider a lighting/plate solution before longer drives.
According to AAA, improper load securement can create road hazards; if you can’t confidently keep the bikes from shifting, a more stable mounting system is often the safer next step.
Conclusion: what to do next
The best car bike rack rear mount usually comes down to fit and repeatability: a rack you can install correctly every time, that holds your specific bikes steady, and doesn’t create new problems like blocked access or constant sway.
Two simple actions help most buyers: confirm your exact vehicle fit in the manufacturer’s guide, then decide whether you want “occasional convenience” (strap rack) or “load-and-go stability” (hitch platform). If you make that decision upfront, the rest gets much easier.
Key takeaways:
- Strap racks suit lighter, occasional use, but need more checks and can contact paint.
- Hitch platform racks cost more, yet feel more stable and are easier for frequent riding.
- Whatever you choose, do a short test drive and re-check tension before highway miles.