
how to remove old tint from windows is usually less about brute force and more about controlling heat, moisture, and adhesive, so the film lifts in larger pieces and the glass stays clean.
If you have bubbling, purple tint, peeling edges, or that hazy look at night, removal can bring back visibility and make your car look less “tired” fast, but it can also turn into a sticky mess if you rush.
This guide walks you through practical methods people actually use at home, how to pick the right one for your situation, and how to deal with the leftover glue, which is where most DIY attempts stall.
What makes old tint so hard to remove (and what you’re really fighting)
Old tint fails in a few predictable ways, and each failure changes how removal behaves.
- Film degradation: cheaper dyed films often fade purple and become brittle, then tear into confetti when you pull.
- Adhesive aging: the glue can crosslink over time and turn gummy, so you remove the film but the sticky layer stays on the glass.
- Defroster line risk: on many rear windows, the defroster grid sits on the glass surface, aggressive scraping can damage it and create dead lines.
- Double-layer installs: it happens, especially on older cars, and you’ll think you’re done until a second layer starts peeling later.
So the goal is not “rip it off,” it’s “soften the adhesive enough that the film releases, then dissolve the residue without scratching.”
Quick self-check: choose the safest removal method for your car
Before you grab a razor blade, take 60 seconds and identify what you’re working with.
- Rear window with defroster lines? Avoid aggressive scraping, lean toward heat + gentle peel, plus adhesive remover with soft tools.
- Side windows (no defroster)? Heat gun/steamer and a razor scraper can be fine if you keep the blade flat and lubricated.
- Tint cracks immediately when you tug? Expect slow peeling and more adhesive cleanup, steaming often helps.
- Film comes off clean but leaves haze? That’s adhesive or a liner layer, plan for a dedicated glue-removal step.
- Aftermarket electronics on glass (antennas/sensors)? Be conservative with chemicals and scraping near those areas.
If you’re unsure, test any chemical on a small corner first and keep it off interior plastics and upholstery.
Tools and supplies you’ll actually use (with a simple comparison table)
You do not need a huge kit, but the right combo saves hours. Here’s a realistic cheat sheet.
| Item | Best for | Watch-outs |
|---|---|---|
| Heat gun (low setting) | Fast softening on side glass | Too much heat can warp trim or crack old glass in rare cases; keep moving |
| Steamer | Controlled heat + moisture, great for brittle film | Slower than heat gun, but safer around defrosters |
| Spray bottle (soapy water) | Lubricates scraping and reduces scratching | Doesn’t dissolve adhesive by itself |
| Plastic razor / plastic scraper | Rear glass and sensitive areas | May take longer on thick glue |
| Metal razor blade scraper | Side windows with stubborn residue | Angle matters; can scratch glass or damage defroster lines |
| Adhesive remover (automotive-safe) | Glue cleanup step | Ventilation needed; protect plastics and tint you plan to keep |
| Microfiber towels | Wiping and polishing | Use clean towels to avoid grinding grit into glass |
Key point: if your main struggle is glue, upgrading your removal chemistry and technique matters more than pulling harder.
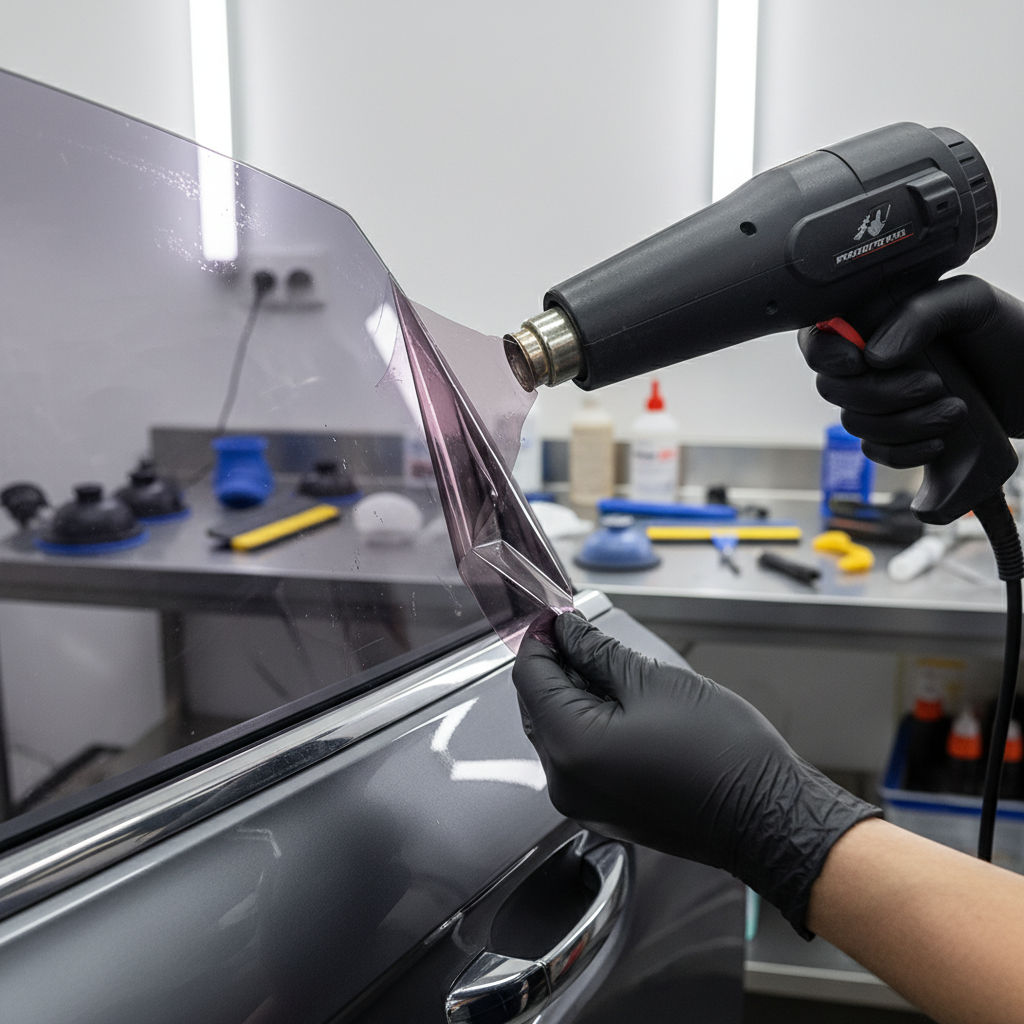
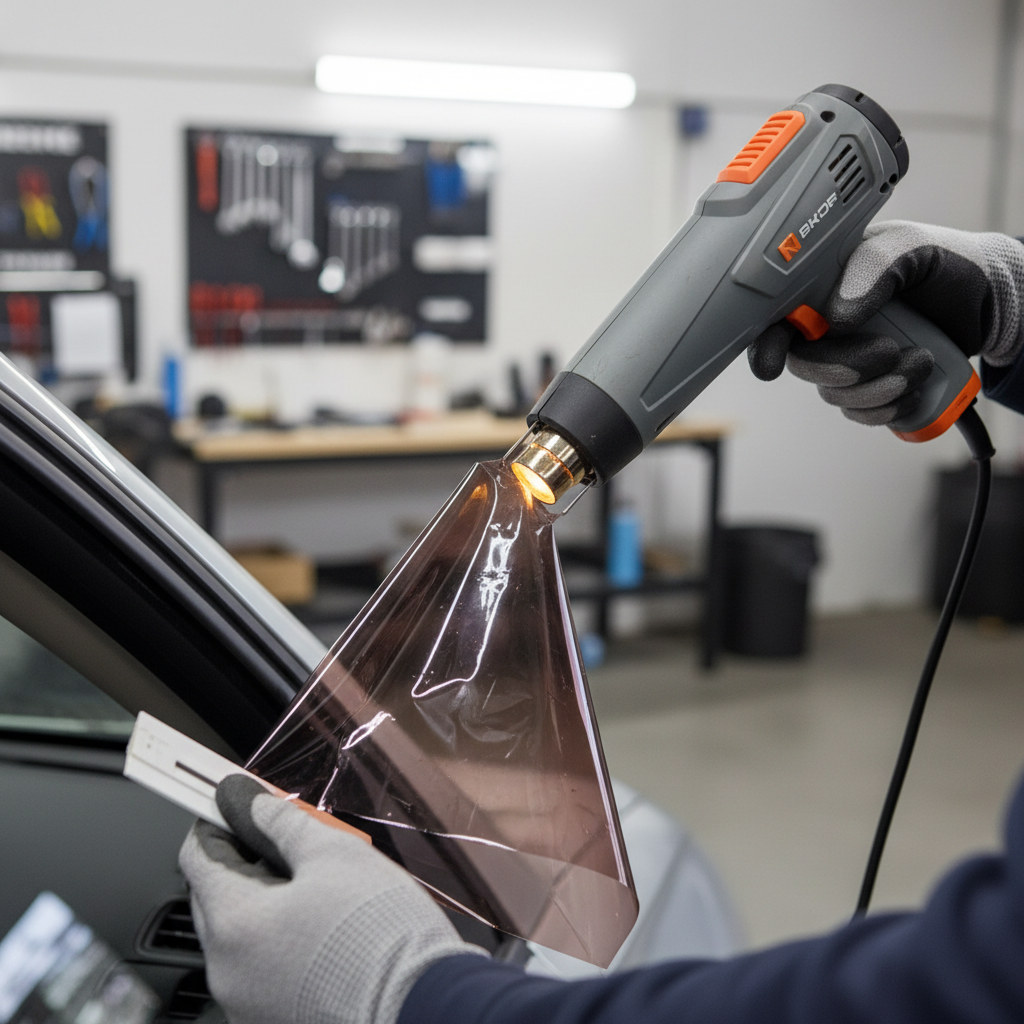
Method 1: Heat and peel (the most common DIY approach)
This is the method most people mean when they search how to remove old tint from windows, and it works well when the film is still somewhat flexible.
Step-by-step
- Lower the window about half an inch so you can access the top edge of the film.
- Warm a small area near a corner with a heat gun on low, or use a steamer head and work slowly.
- Lift an edge with a fingernail, plastic scraper, or a razor only if you can keep it nearly flat.
- Peel steadily while applying heat ahead of the peel line, aim for slow and continuous tension rather than jerking.
- If it tears, re-start from the nearest intact edge, heat again, and keep going.
For rear windows with defrosters, keep your peel angle shallow and avoid pulling “up” sharply, that’s when lines can lift if the adhesive grabs.
Once the film is off, don’t celebrate yet, most jobs are only half done at this point.
Method 2: Ammonia bag method (effective, but be careful)
This approach can work when tint is old, brittle, and the adhesive refuses to release. It uses ammonia vapor to soften the glue so the film separates more cleanly. Many people do it on the rear glass because it avoids aggressive scraping, but it needs good ventilation and careful masking.
According to OSHA, ammonia exposure can irritate the eyes and respiratory system, so it’s wise to work outdoors or with strong airflow, and consider gloves and eye protection.
Step-by-step (high level)
- Protect interior surfaces with plastic sheeting or trash bags, especially dashboards and upholstery.
- Spray an ammonia-based cleaner onto the tint, then cover it with plastic so it stays wet and traps vapor.
- Let it dwell in warm sun when possible, many cases need 20–45 minutes depending on temperature and film age.
- Peel from a corner slowly, re-wet as needed, then move into adhesive cleanup.
Practical caution: ammonia can discolor or damage some interior plastics and fabrics, so overspray control matters more than the brand of cleaner.
Adhesive residue removal: where most people get stuck
If the film came off but the window feels tacky or looks smeared, you’re dealing with adhesive. This is normal, and it’s fixable, but it’s also where impatience causes scratches.
A reliable cleanup sequence
- Re-soften the glue with steam or a dedicated adhesive remover, let it dwell instead of wiping immediately.
- Use the right scraper for the glass: plastic on defroster lines, metal razor on side glass if you keep it flat and lubricated.
- Wipe in one direction with microfiber towels, rotate to clean sections often so you don’t redeposit glue.
- Finish with glass cleaner to remove oily residue, then inspect in angled light for haze.
People often ask how to remove old tint from windows quickly, but for glue, “quick” usually means “more chemicals + more dwell time,” not more scraping force.

If you see tiny dots or “sparkles” that won’t wipe off, pause and check whether you’re grinding debris across the glass, rinsing and switching towels often can save you from micro-scratches.
Common mistakes that make tint removal harder (or damage the car)
- Scraping a rear defroster line: even one wrong pass can create a non-working strip, and repairs are limited.
- Using too much heat in one spot: it can warp rubber seals, haze some plastics, or stress older glass.
- Skipping dwell time: adhesive removers need minutes, not seconds, wiping too early just spreads glue.
- Using abrasive pads: steel wool and aggressive scouring pads can scratch, even if it “feels fine” at first.
- Letting chemicals drip into doors: it can affect switches, speaker areas, or leave lingering odor.
Also, if your goal is re-tinting, keep in mind installers care a lot about contamination. A “looks okay” window may still have adhesive smears that show up under new film.
When it’s smarter to call a professional
DIY works for many side windows, but there are a few situations where a tint shop or detailer can save you money and frustration.
- Rear window with delicate or already-damaged defrosters, especially if the tint is ancient and glued hard.
- Multi-layer tint where film keeps separating into different sheets.
- High-end or specialty glass where you’d rather not risk scratches or trim damage.
- Health sensitivity to solvents or strong cleaners, in that case it’s worth asking a shop about their process and ventilation.
Many shops can remove and re-tint in one appointment, and they usually have commercial steamers and purpose-built adhesives that reduce risk on rear glass.
Practical wrap-up: a clean removal plan you can follow today
how to remove old tint from windows comes down to picking a method that matches your glass and film condition, then treating adhesive removal as a separate, deliberate phase instead of an afterthought.
- If you want the safest all-around approach: use steam, peel slowly, then dissolve residue with an automotive adhesive remover and plastic tools where needed.
- If you need speed on side windows: controlled heat gun + careful razor scraping can work, but keep blades flat and surfaces lubricated.
If you’re planning to re-tint, your best “next action” is simple: finish with a final glass wipe-down, then inspect from multiple angles before you book installation, it prevents the redo that nobody wants.