
How to balance car tires at home starts with one honest reality check: you can do useful diagnosis and a limited “get-it-better” fix in your garage, but true dynamic balancing still usually needs a proper wheel balancer.
If your steering wheel shakes at 55–75 mph, the seat buzzes on the highway, or your tires wear in weird patches even after an alignment, you’re probably dealing with imbalance, not just “bad roads.” The good news is you can narrow it down fast and avoid wasting money on the wrong repair.
I’m going to walk you through what you can realistically do at home, what tools make sense, and where DIY stops being smart. You’ll also get a simple checklist, a decision table, and a couple of safer workarounds when you can’t get to a shop right away.
What tire balancing actually is (and why vibration shows up at speed)
Balancing means distributing weight around the wheel-tire assembly so it spins without “wobble” or hopping. Even a tiny heavy spot can turn into a big shake once you add speed.
There are two common types shops address:
- Static imbalance: the wheel wants to “flop” to one heavy point when free-spinning.
- Dynamic imbalance: weight is uneven across the inner vs outer planes, which shows up as side-to-side shimmy at speed.
At home, you can sometimes identify static imbalance and reduce symptoms, but dynamic imbalance is the reason most modern cars feel fine at 35 mph and annoying at 65 mph.
According to NHTSA, tires and wheels are safety-critical components, and drivers should follow manufacturer guidance and use qualified service when needed. That’s a polite way of saying: if you’re unsure, don’t gamble with the parts that keep the car on the road.
Common reasons your tires feel “out of balance” (it’s not always weights)
Before you chase balancing, it helps to know what often causes the same symptom. Lots of people pay for balancing twice when the real issue is elsewhere.
- Lost wheel weights after a pothole hit or curb tap, especially stick-on weights on alloy wheels.
- Mud, snow, or ice packed inside the wheel, which mimics imbalance until it falls off.
- Uneven tire wear from low pressure, worn shocks/struts, or alignment issues. Balancing won’t “undo” a bad wear pattern.
- Bent wheel or damaged tire (belt shift, sidewall bubble). Balancing might hide it briefly, but the problem stays.
- Improper torque or debris on the hub mating surface, which can cause the wheel to sit slightly off-center.
One practical tell: imbalance vibration is usually smooth and speed-specific, while a bent wheel or bad tire can feel harsher and sometimes changes under braking or turning.
Quick self-check: are you likely dealing with imbalance?
Use this quick list before you buy tools. You’re looking for patterns, not one single clue.
- Vibration peaks between 55–75 mph and eases outside that range.
- Steering wheel shake suggests a front-wheel issue; seat/floor vibration often points to the rear.
- You recently had new tires installed and the shake started right after.
- You see missing weight marks (clean rectangle where adhesive used to be, or clip-on scrape marks).
- After washing the wheels or clearing snow, the vibration changes noticeably.
If you also have pulling, feathered wear, or a crooked steering wheel, treat alignment or suspension as part of the conversation. Balancing alone might not move the needle.
Tools and setup for balancing-related DIY work (what’s worth buying)
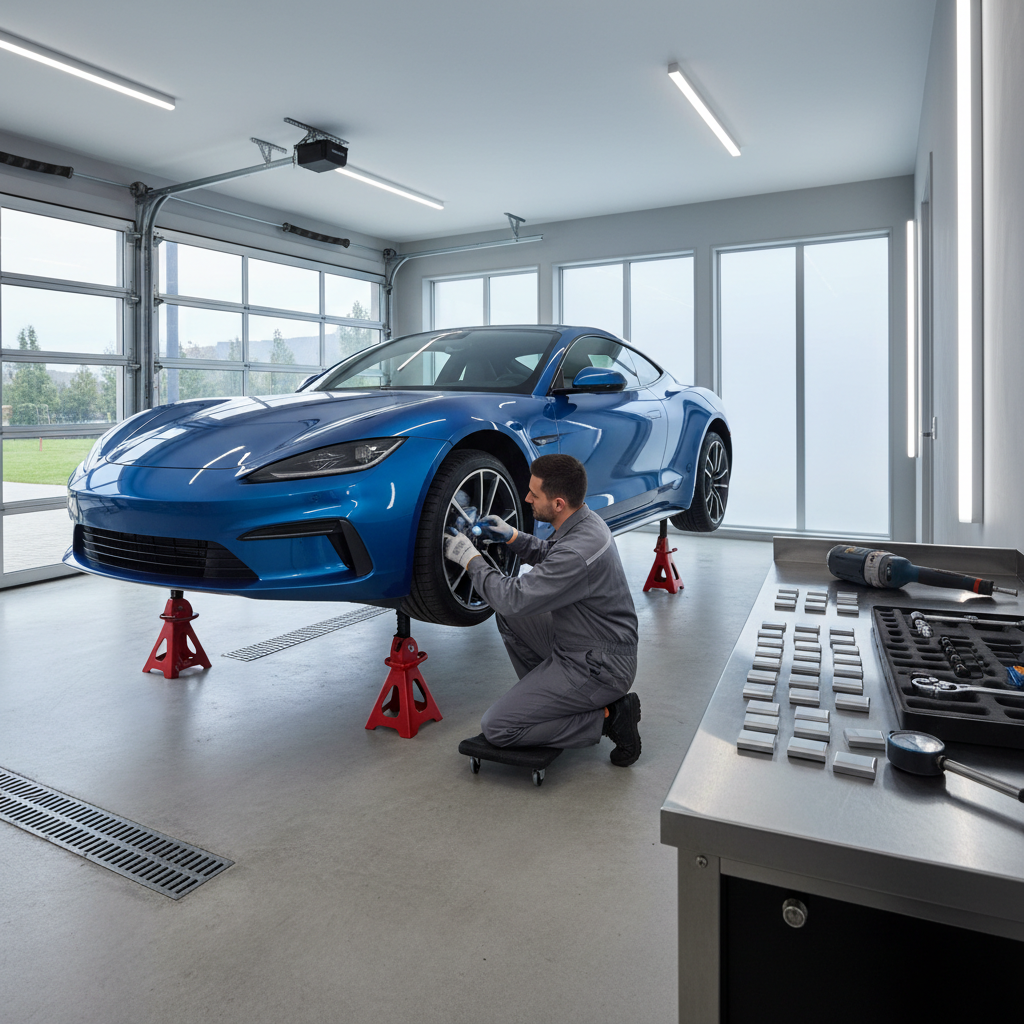
You don’t need a garage full of equipment, but you do need safe lifting and a way to measure what you’re seeing.
Minimum safe setup
- Floor jack and jack stands rated for your vehicle
- Wheel chocks
- Tire pressure gauge and inflator
- Torque wrench (correct lug torque matters more than people think)
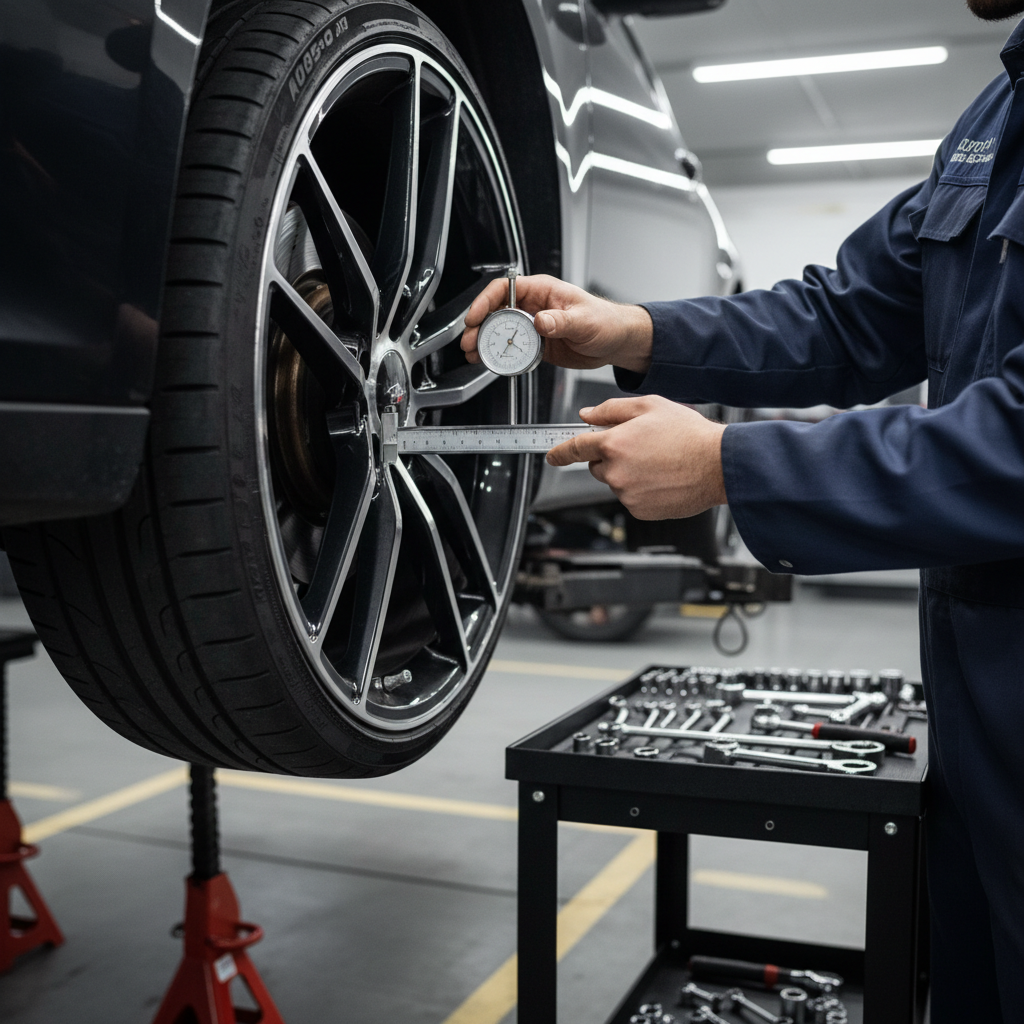
Helpful (not mandatory) diagnostic tools
- Dial indicator with magnetic base (for checking wheel/tire runout)
- Tread depth gauge (to spot uneven wear trends)
- Chalk/paint marker for marking high spots and wheel positions
About “DIY wheel balancers”
Bubble balancers and static balancer stands can reduce static imbalance on some wheel types, but they often won’t fix the highway shimmy that comes from dynamic imbalance. They’re a tool, not magic.
What you can do at home: step-by-step actions that actually help
How to balance car tires at home often means doing the “pre-balance” work that makes a professional balance succeed, plus a few legitimate DIY checks that catch obvious problems.
1) Start with the boring stuff: pressure and wheel cleanliness
- Set all tires to the door-jamb placard pressure (not the number on the tire sidewall).
- Clean packed debris from inside the wheels, especially in winter or after off-road driving.
- Visually inspect for missing weights, cracks, or sidewall bubbles.
Pressure mismatches can mimic imbalance and also create new wear, so this step is not optional.
2) Re-torque wheels correctly
- With the car safely supported, remove each wheel.
- Clean rust/scale from the hub face and wheel mating surface (light brushing, no gouging).
- Reinstall and torque lugs in a star pattern to spec.
According to AAA, proper tire and wheel maintenance supports safer driving, and that includes correct installation practices. If you’re not confident lifting the car and torquing correctly, it’s a good moment to stop and book service.
3) Do a simple front-to-rear swap as a diagnostic move
If your tire sizes allow rotation, swapping front and rear can tell you a lot:
- If the steering wheel shake becomes a seat vibration, the problem likely moved with the tire/wheel.
- If the symptom stays at the steering wheel, consider front suspension or a bent front wheel.
This doesn’t “balance” anything, but it prevents guessing, which saves money.
4) Check runout (bent wheel or bad tire indicator)
With the wheel off the ground, spin it and watch the gap to a fixed point. A dial indicator makes this much clearer.
- Rim runout: look for side-to-side wobble at the rim edge.
- Tire runout: look for up-and-down hop in the tread.
If you see obvious wobble, balancing weights won’t cure it. You may need wheel repair, replacement, or a tire warranty conversation.
DIY balancing methods: what works, what’s risky, what’s mostly marketing
There are a few at-home approaches people try. Some are reasonable in the right context, some create new problems.
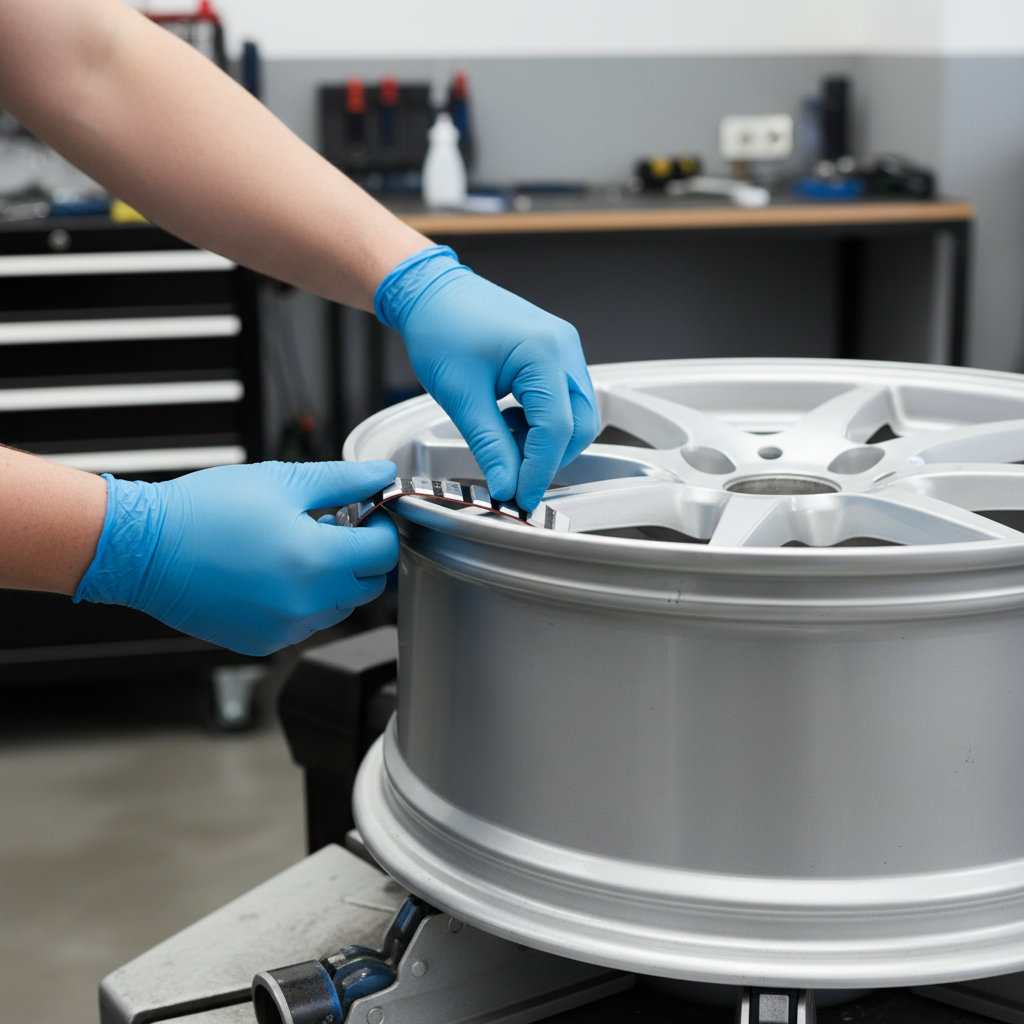
Static balancing with a stand or bubble balancer
This can help if you have older wheels, off-road setups, or you’re chasing a mild vibration and you already confirmed the wheel is true.
- Mount the wheel on the balancer and let it settle.
- Mark the heavy spot (it tends to drop).
- Add small weights opposite the heavy spot, recheck, repeat.
Keep expectations realistic: it may reduce shake, but it often won’t match a road-force or dynamic machine balance.
Balancing beads or internal media
These are popular in certain segments, and some drivers report good results, especially on larger tires. Still, compatibility depends on tire type, TPMS sensors, and driving conditions.
- They can be messy during tire service.
- They may not play nicely with every TPMS design.
- They won’t fix a bent wheel or separated belt.
If you’re considering this, confirm the tire and TPMS compatibility with the product maker and your tire shop, because policies vary.
“Add random stick-on weights until it feels better”
This is the one I’d avoid. Without measurement, you can easily chase the vibration in circles and end up with too much weight in the wrong place, which can make dynamic imbalance worse.
Decision table: DIY vs going to a shop (quick call)
Use this as a practical shortcut when you’re deciding whether to keep troubleshooting at home.
| What you notice | Most likely cause | At-home move | When to stop DIY |
|---|---|---|---|
| Shake only at highway speeds | Dynamic imbalance | Check pressure, clean wheels, rotate to isolate | If it persists, get machine balance |
| Vibration after snow/mud | Debris in wheel | Clean inner wheel barrels thoroughly | If it returns quickly, inspect wheel/tire damage |
| Visible wobble when spinning | Bent wheel or tire runout | Measure runout, swap position to confirm | Wheel repair/replacement or tire replacement |
| Feathered or cupped tread | Suspension/alignment | Check pressure, inspect shocks/struts visually | Alignment and suspension diagnosis |
| Vibration plus pulling | Alignment or brake issue | Basic inspection, confirm lug torque | Professional inspection recommended |
Key takeaways and common mistakes (this is where people waste time)
- Balancing doesn’t fix wear. If the tire already has cupping or chopped tread blocks, it may always feel rough.
- Don’t skip hub cleaning. Rust scale between hub and wheel can cause a “fake imbalance.”
- Don’t over-focus on one tire. Sometimes two slightly-off wheels stack into one big vibration.
- Be cautious with mixed weights. Clip-on vs stick-on placement matters, and wrong placement can scratch wheels or fly off.
- Safety beats speed. If you can’t safely lift and support the vehicle, DIY is not the move.
Practical rule: if you did pressure, cleaning, proper torque, and a rotation, and the vibration still peaks at a specific speed, you’ve earned the right to stop. A good shop balance is often the most efficient next step.
When it’s time for professional help (and what to ask for)
If the car still shakes after the basic home checks, ask for a machine balance. If you have stubborn vibration, you may want to ask whether the shop offers road-force measurement, since it can reveal tire stiffness variation that a standard balance can miss.
- Ask them to check wheel runout if you suspect a pothole impact.
- Ask for a look at tire condition if there’s cupping, bubbles, or uneven wear.
- If you run aftermarket wheels, confirm they use the correct hub-centric rings when applicable.
According to Tire Industry Association (TIA), proper tire service procedures and inspection are central to safety. If something feels “off” and you can’t pinpoint it, getting a trained technician involved is often the safer call.
Conclusion: a realistic DIY plan you can do this weekend
How to balance car tires at home is mostly about smart triage: set pressures, clean wheels, re-torque correctly, rotate to isolate the corner, then check for runout or obvious damage. If the vibration still lives at highway speeds, a professional dynamic balance is usually the clean finish.
If you want one action step, do the pressure check plus a rotation test, then take notes on how the vibration changes. That small bit of info makes your next decision, DIY or shop, much more straightforward.